Loft Conversion in a Gable Roof: Costs, Headroom and Building Regulations
October 08, 2026 - Gable Roofs

October 04, 2026 - Design Ideas
October 02, 2026 - Roofing
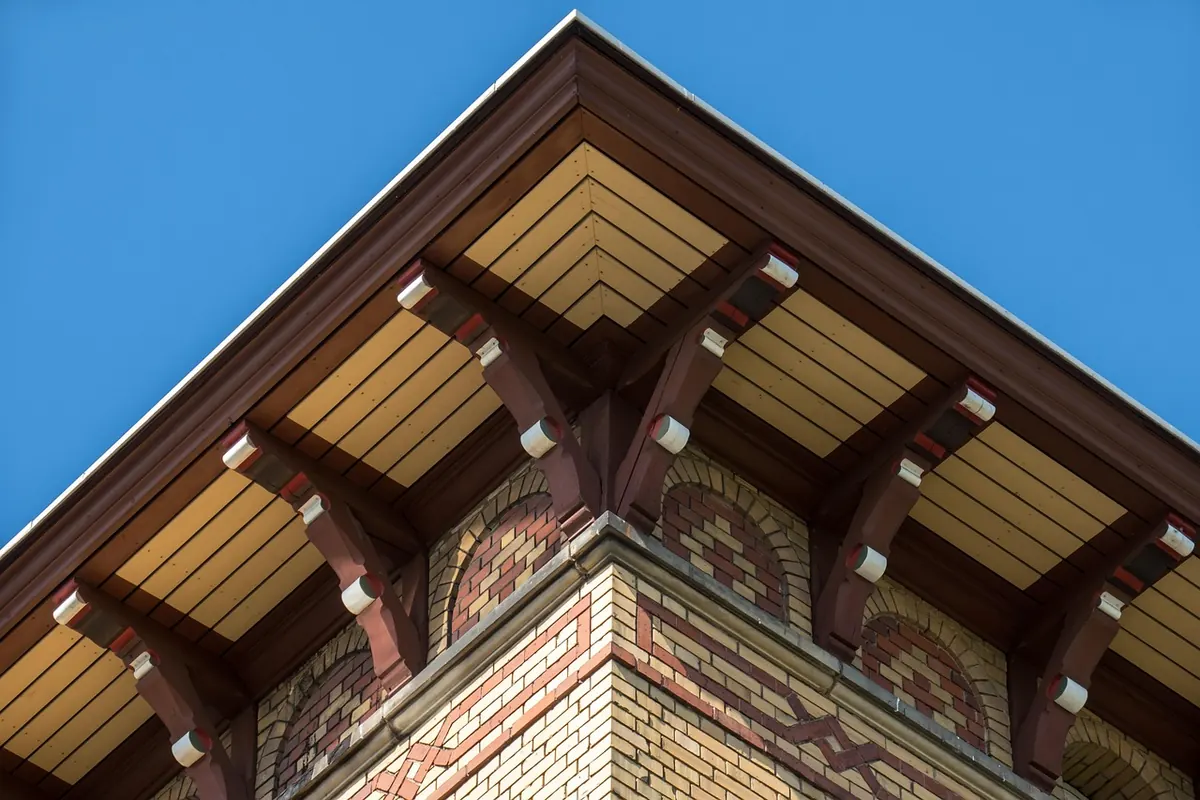
Bargeboards do a simple job in an unforgiving spot. On a gable end they take the wind, the run-off from the roof covering, and the weight of the gutter, along a rake that may be several metres off the ground. Replacing them looks easy: unscrew the old, screw on the new. The trouble tends to show up a year or two later — damp near the apex, a board bowed by the sun, rot creeping into the rafter feet. Most of it comes back to a handful of details that are easy to skip when you are up a ladder with a saw.
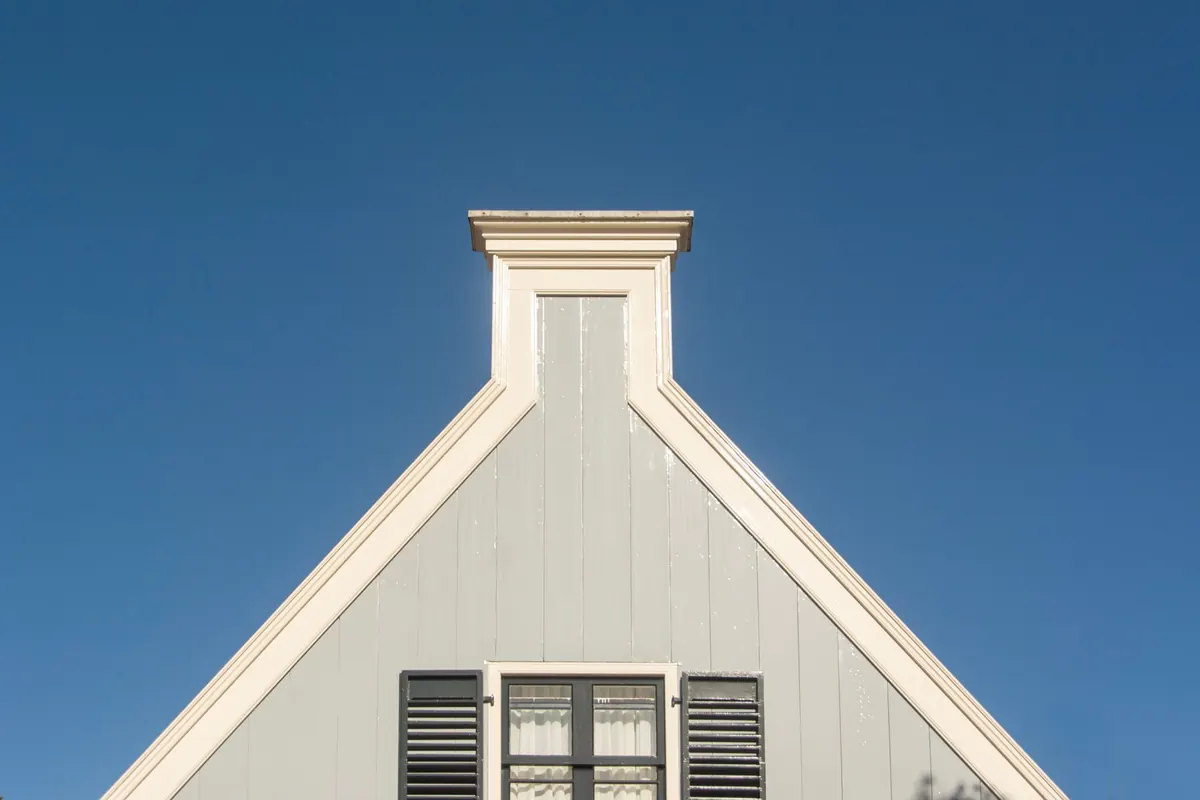
The bargeboard follows the pitch of the roof and it has to follow it exactly. A board set a degree or two out is obvious from the ground, and the joint at the peak will gape.
Measure the angle properly instead of guessing. Run a straight edge along the top of the fly rafters or use an angle finder, then set a bevel. Cut both boards at half the rake angle so the two ends meet on a plumb line at the apex. Cut each at the full angle and the joint closes at the top and opens at the bottom. Dry-fit both boards before you drill anything, and check the mitre against the roof line from ground level.
Behind the joint, fix a noggin or a piece of ply so the two boards have something solid to pull against. Without it, the mitre is just two ends of board touching, and it will open the first time the wind gets behind it. Use an exterior-grade adhesive in the joint as well as a fixing.
Height matters too. The top edge should sit just below the top of the rafters so the roof covering overhangs it and sheds water clear. Set it too high and the tile or slate edge will not sit properly; set it too low and you leave a gap under the tile edge for driven rain.
Bargeboards need fixing into timber — the fly rafters, the gable ladder, or battens fixed to them. Screwing into mortar joints, render or the wall itself works for about one winter.
This is the mistake with the longest delay before it shows. Roofs need air moving through them, usually in at the eaves and out at high level. Anything added at the verge can interrupt that path, and a sealed-up void collects condensation that drips onto timbers and insulation.
Before fitting the new boards, look at what you are covering. If there was a vented section, a gap or an over-fascia vent strip, do not replace it with a solid board and a bead of mastic. Fit an equivalent vent, or an over-fascia vent unit made for the profile you are using. Do not fill the gap with expanding foam, and do not push insulation into the verge to tidy it up. If the roof has been re-insulated at any point, ventilation may already be tighter than it should be; a roofer can tell you quickly whether you are about to close off the only air path.
Water reaching the verge has to be sent somewhere. The underlay should drape over a support tray or eaves guard and discharge into the gutter, not be folded behind the bargeboard and stapled out of sight. Tucked membrane flaps, sags, and eventually rots the board from the inside.
Look for a profile with a drip or water-return detail at the top edge, or fit a separate drip edge, so water running down the board is thrown clear rather than tracking back into the wall. Check the gutter line as well: if the new board is a different thickness to the old one, the brackets will need repositioning, and a gutter that no longer falls towards the downpipe will overflow at the wrong end.
Replacing the bargeboards but leaving tired fascia boards in place often looks worse than doing nothing — two whites, two thicknesses, and a visible step where they meet at the eaves. If you are cladding over existing timber, remember you are covering whatever rot lies underneath. Sometimes that is fine; sometimes you are hiding a problem that will need scaffolding again next year.
Decide on one system before ordering: fascia, bargeboard, soffit and trims, in the same material and colour. Paint timber on all four faces before fitting, including the cut ends, because the back face never gets painted once it is up. Keep fixings matched too — mixing galvanised and stainless in the same run invites corrosion.
The old board was probably rotten because water was getting in somewhere, not simply because it was old. With it off, check the fly rafters and gable ladder for soft timber, look at the render and pointing on the gable wall, and check for slipped tiles or slates along the verge. Treat sound timber with a preservative and cut out anything that has gone. Repoint or patch small areas of render before the new board goes back, because you will not want to take it off again.
This is work at height, on the edge of a roof, often in a wind. Use a scaffold tower or proper edge protection rather than stretching sideways from a ladder, and never lean out over the gutter line. If the gable is high, the access is awkward, or the timber behind the board is soft, bring in a roofing contractor. Their quote will usually cost less than a fall.
Then finish the small things that make the job last:
Get those details right and the new boards should outlast the paint on them. Rush the setting out, the fixings or the ventilation, and you will be back up the ladder sooner than you would like.
Photo: Didgeman / Pixabay
A practical guide to gable loft conversions, covering headroom calculations, structural work, insulation, building...
Gable roof extensions often fall under permitted development, but height limits and local rules can trigger the need...
Copyright © 2026 Gable Lab. All Right Reserved.