Loft Conversion in a Gable Roof: Costs, Headroom and Building Regulations
October 08, 2026 - Gable Roofs


October 04, 2026 - Design Ideas
October 02, 2026 - Roofing

A gable roof is a straightforward shape, which is exactly why so many leaks catch people out. Water rarely announces itself at the point where it got in. It slips through a valley, creeps under a flashing, runs along a rafter and shows up as a brown ring on a bedroom ceiling a couple of metres away. Valleys and flashings are the two details where gable roofs most often let water past — and both need a cool head and a bit of method rather than a tube of sealant fired at the first damp patch you find.
A valley is where two roof slopes meet and their rainwater is funnelled into one channel. That channel carries roughly twice the water of an ordinary slope, at speed, every time it rains. Anything that slows the flow — a handful of moss, a slipped tile, a fallen twig — lets water sit where it shouldn't and work its way in.
Flashings are a different problem. They join the roof to something that moves at a different rate: a chimney stack, a gable wall, a dormer cheek, a soil vent pipe. Lead, mortar and brick all expand and contract at their own pace, and wind pushes rain sideways into joints that look perfectly sound from the ground.
Two other things are worth knowing. Capillary action can draw water sideways through gaps of a millimetre or less, so a flashing that simply laps over a tile without a proper upstand will still leak in a gale. And wind-driven rain travels uphill, under laps and behind cover flashings, on whichever side of the house faces the weather.
The first rule of roof leaks is to find the entry point, not the wet patch. Timing tells you a lot. A leak that appears only during heavy rain driven from one direction usually points to a flashing, a lap or a perished pipe collar. One that shows up after a long, steady drizzle often means a blockage — a dammed valley or a gutter backing up under the tiles.
Never climb onto a wet, frosty or fragile roof, and never work alone at height. If you cannot inspect a suspect area safely from a roof ladder, that on its own is a good reason to call someone.
Valleys come in two main forms. An open valley leaves the lining visible as a channel between the two slopes. A closed valley, common on older properties, has tiles or slates cut and laid over the lining so that the two slopes almost meet. Closed valleys hide their lining, which makes faults harder to see but no less likely.
Clearing a valley is a job you can sometimes do safely from a roof ladder with a soft brush and gloved hands. Do not scrape at the lining with a metal tool, and never throw debris off the roof — bag it and lower it down.
Step flashings and soakers protect the joint where a slope meets a vertical surface. On a chimney you also have an apron flashing at the front, a back gutter behind it and cover flashings set into the brickwork at the sides. Each is a potential entry point, and each fails in a slightly different way.
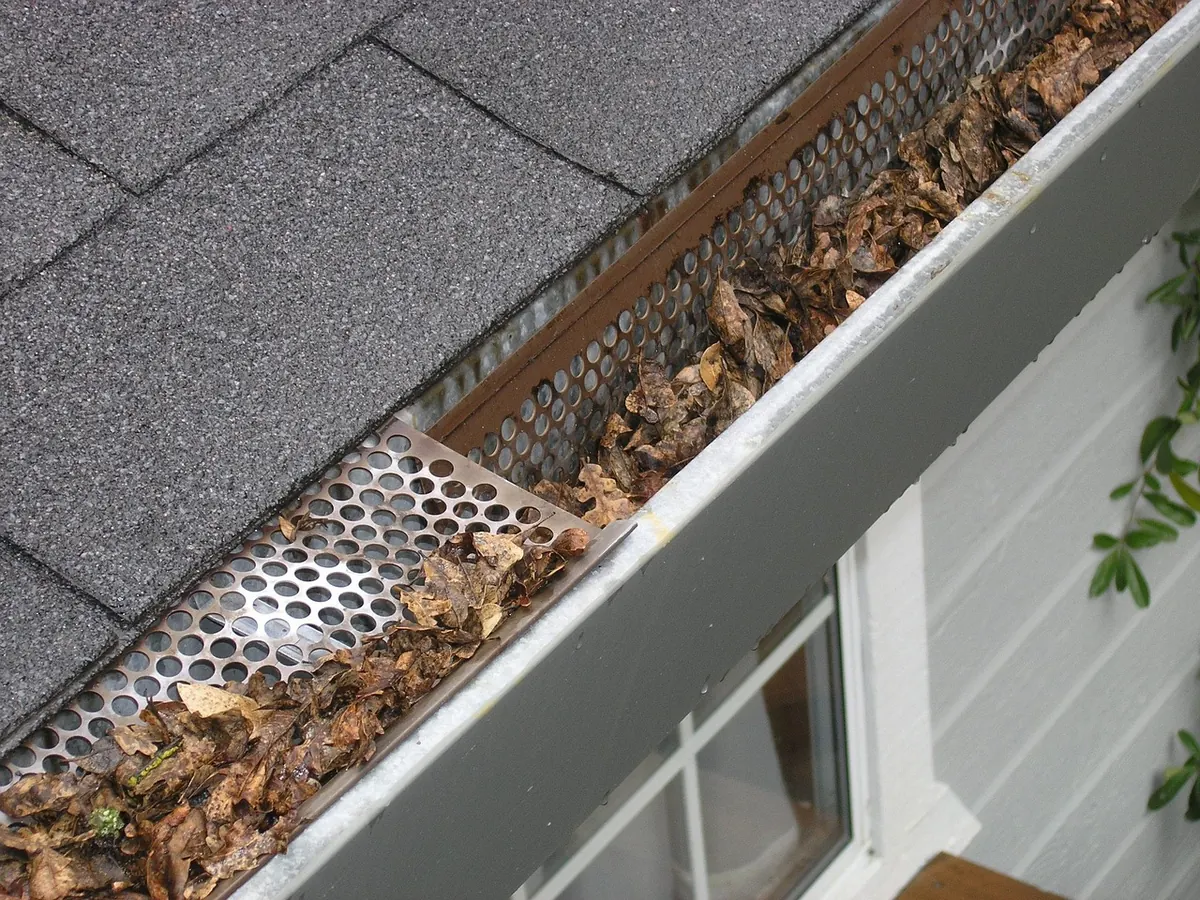
Common faults include mortar pointing that has cracked and fallen away; lead that has lifted because it was only wedged into a shallow groove; a back gutter clogged with leaves and twigs; and pipe collars around soil vent pipes that have perished in the sun. It is also worth checking the brickwork and pointing above the flashing — water running down a wall can arrive at the roof looking exactly like a flashing failure.
If a repair involves renewing lead, chasing out brickwork or reshaping a back gutter, that is skilled work. A short-term smear of sealant over a joint that needs re-leading will buy you a few weeks at best, and often hides the problem while the damage spreads into the roof structure.
Everything below assumes dry conditions, safe access and a single-storey or easily reached roof. If any of those do not apply, stop and call a professional.
Treat all of these as days-to-weeks measures. They are there to stop water tracking into ceilings and insulation while you arrange a proper repair — not to replace one.
Bring someone in if the property is more than two storeys, the pitch is steep, the covering is slate or a fragile sheet material, or the suspected fault is in the valley lining or the leadwork. The same applies if you have already made two repairs and water is still getting in, or if you simply cannot establish where it starts.
When you do call, ask for a written scope of work, before-and-after photographs, the materials being used and the length of any guarantee. For larger jobs, get two or three quotes and be wary of anyone who asks for the full amount up front. If the leak followed a storm, mention it early — it may be worth checking whether your buildings insurance covers the repair.
Most valley and flashing leaks begin as a small blockage or a hairline crack that nobody looked at. Twice a year — late spring and early autumn — clear the gutters and valleys, cut back branches that overhang the roof, and look along the flashing lines with a pair of binoculars from the ground. Note anything that has shifted, lifted or crumbled, even if it is not leaking yet.
Five minutes of looking up, twice a year, is a great deal cheaper than replacing a ceiling. And if you are not comfortable at height, that is not a failing — it is exactly the point at which a good local roofer earns their money.
Photo: qgadrian / Pixabay

A practical guide to gable loft conversions, covering headroom calculations, structural work, insulation, building...

Gable roof extensions often fall under permitted development, but height limits and local rules can trigger the need...
Copyright © 2026 Gable Lab. All Right Reserved.